
Rust(ラスト)は、C言語、C++に代わるシステムプログラミング言語と言われています。OSや言語を記述するのに適した言語というわけです。
本稿では、RustをWindows10, Ubuntu 20.10, macOS 11(Big Sur)にインストールし、簡単なプログラムを実行するまでを紹介します。
Windows10でRust!
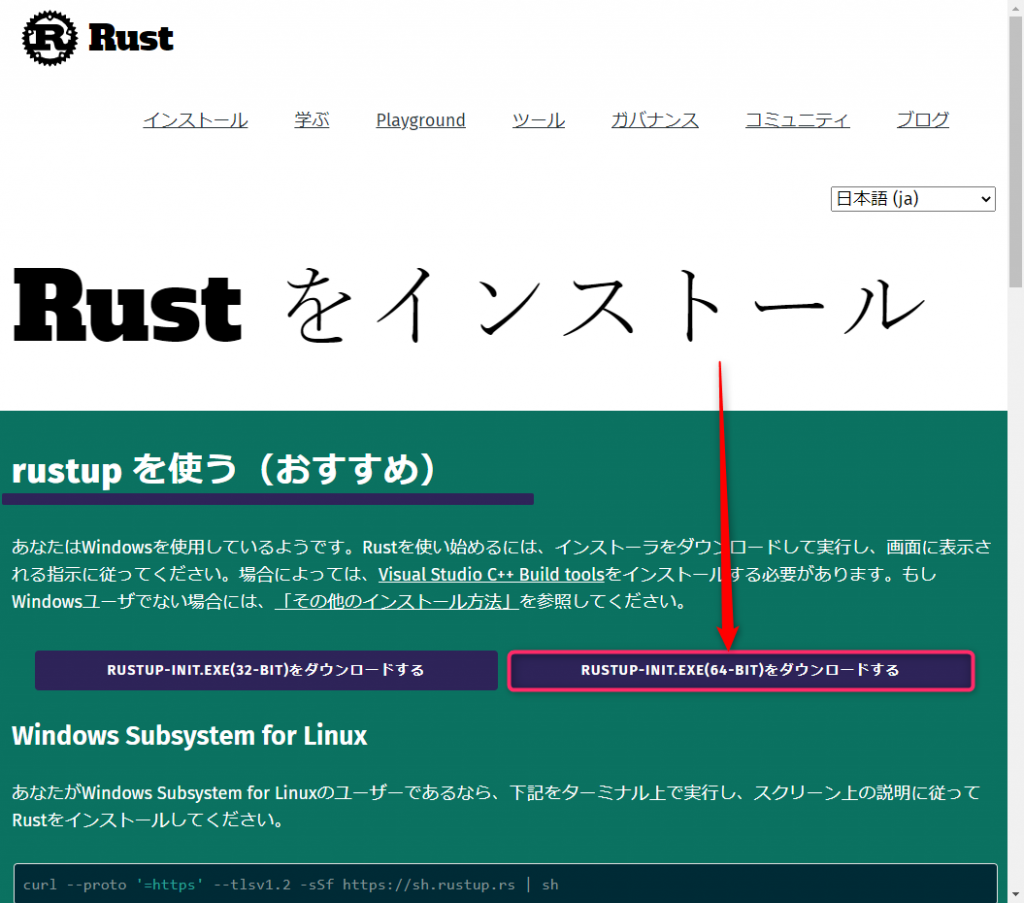
こちらのリンクからダウンロードページに進み、[RUSTUP-INIT.EXE(64-BIT)をダウンロードする]をクリックします。
ダウンロードした「rustup-init.exe」を実行します。
Microsoft C ++ビルドツールのインストール
すでに、C ++ビルドツールがインストールされている場合は、この項をスキップしてかまいません。
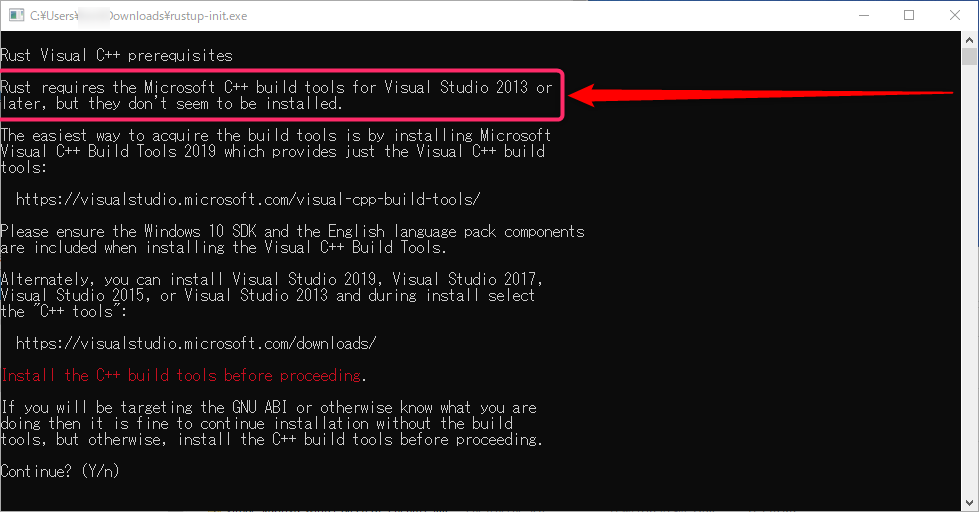
「rustup-init.exe」を実行し、次のメッセージが出た場合は、いったん、「n」を入力してインストーラを終了します。メッセージは、およそ次のようなことが書かれています。
「Rustには、Visual Studio2013以降のMicrosoft C ++ビルドツールが必要です。しかしまだインストールされていないようです。続行する前に、C ++ビルドツールをインストールしてください。」
後でインストールしても良いようですが、私は先にしました。
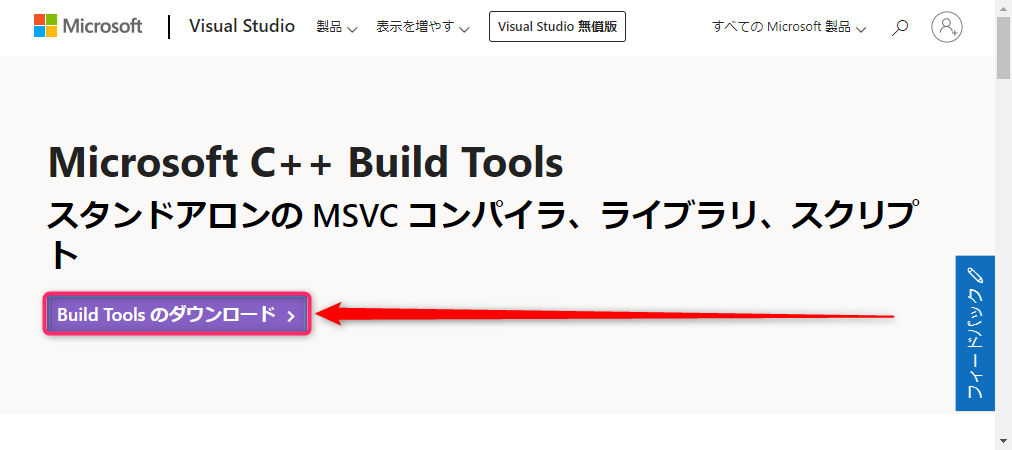
このリンクから、C ++ビルドツールのダウンロードサイトに移動します。「Build Toolsのダウンロード」をクリックし、インストーラをダウンロードします。
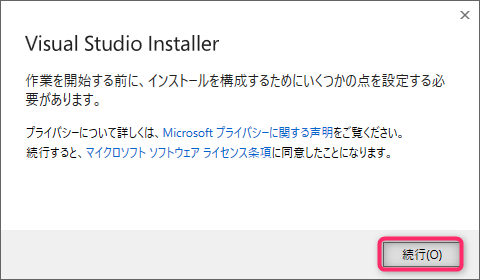
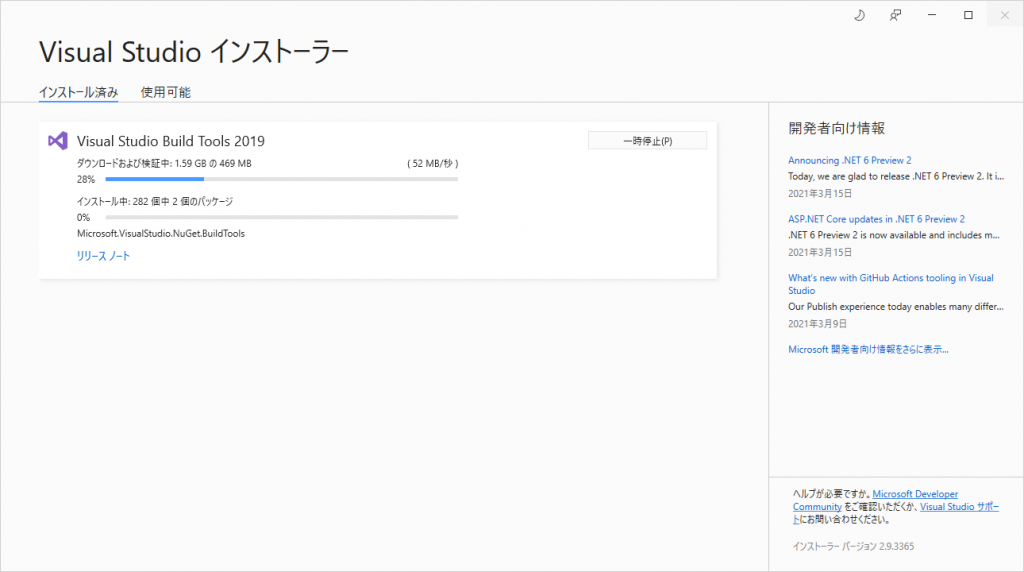
ダウンロードしたインストーラを起動します。
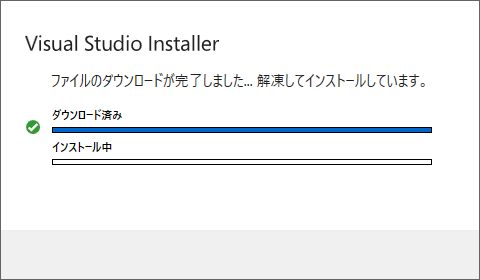
C++ Build Toolsのチェックボックスをチェックし、[インストール]をクリックします。

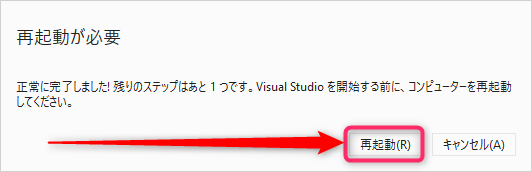
インストール後、Windowsを再起動します。
Rustのインストール
Rustのインストーラを起動すると、次の画面が表示されます。デフォルトの「1」を選択します。
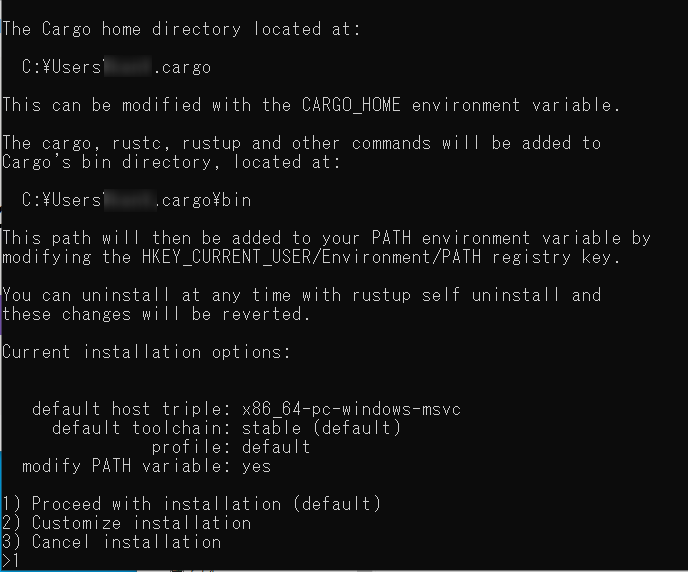
最後に[Enter]キーを入力すると下のウインドウが閉じます。
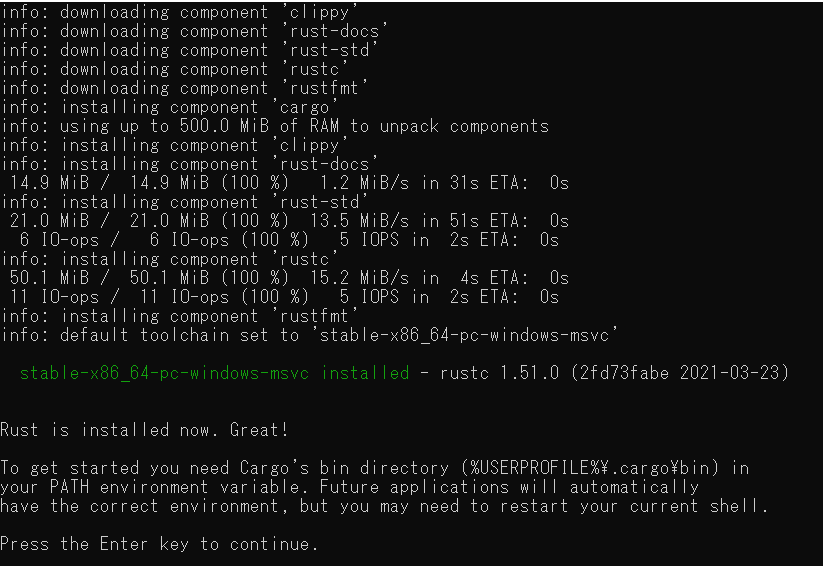
これでインストールは完了です。
PowerShellを起動して、rust関連のコマンドが実行できることを確認します。
> cargo -V
cargo 1.51.0 (43b129a20 2021-03-16)

> rustc -V
rustc 1.51.0 (2fd73fabe 2021-03-23)
Hello Worldを表示してみよう
任意の場所に「rust」フォルダを作成します。
次に、「cargo new プロジェクト名」でプロジェクトを作成します。下ではプロジェクト名を「show_os_ver」としました。
> mkdir rust
> cd rust
> cargo new show_os_ver
     Created binary (application) `show_os_ver` package
プロジェクトのディレクトリ構成をtreeコマンドで表示したのが下の図です。
> tree
C:.
└─show_os_ver
    ├─src
    └─target
        └─debug
            ├─.fingerprint
            │  └─show_os_ver-6e9761e250227a20
            ├─build
            ├─deps
            ├─examples
            └─incremental
                └─show_os_ver-2pbgi5bw157s3
                    └─s-fx46y9e08f-st9gr9-7vzjtifks76a
show_os_ver\src\main.rsがソースコードです。
> cd .\show_os_ver\src
> cat main.rs
fn main() {
    println!("Hello, world!");
}
すでに、「Hello World」を出力するプログラムがおかれているので、これをビルドして実行します。
cargo runコマンドが便利です。ビルドと実行を一気に行ってくれます。
> cargo run
   Compiling show_os_ver v0.1.0 (C:\Users\xxxx\works\rust\show_os_ver)
    Finished dev [unoptimized + debuginfo] target(s) in 2.12s
     Running `target\debug\show_os_ver.exe`
Hello, world!
OSのバージョンを表示してみる
これまで、プログラムを何も作っていないので、OSのバージョンを表示する簡単なプログラムを作ってみます。
エディタでmain.rsを編集します。
use std::process::Command;

fn main() {
    let proc = Command::new("wmic")
        .args(&["os", "get", "caption"])
        .output()
        .expect("Failed to start `wmic`");

    println!("{}", String::from_utf8_lossy(&proc.stdout));
}
プログラムからwmicコマンドを引数付きで実行し、wmicから受け取った出力結果を表示します。
let proc = Command::new(“wmic”) の行でwmicコマンドを実行します。
.args(&[“os”, “get”, “caption”]) でwmicに与える引数を指定します。
.output() でwmicの実行完了を待つと同時に出力を受け取ります。
.expect(“Failed to start wmic“); で例外処理を登録します。
println!(“{}”, String::from_utf8_lossy(&proc.stdout)); でwmicの実行結果を表示します。
> cargo run
   Compiling show_os_ver v0.1.0 (C:\Users\xxxxx\works\rust\show_os_ver)
    Finished dev [unoptimized + debuginfo] target(s) in 0.53s
     Running `C:\Users\xxxxx\works\rust\show_os_ver\target\debug\show_os_ver.exe`
Caption
Microsoft Windows 10 Enterprise Evaluation
OSのバージョンを表示することができました。
UbuntuでRust!
Windows上にLinux環境を構築する方法にWSLがあります。WSL(Windows Subsystem for Linux ) とは、Linuxのバイナリ実行ファイルをWindows 10およびWindows Server上で実行できるようにしたものです。
WSLでWindows上にUbuntu環境を構築する方法は、このリンクの記事に詳しいので、よかったら参考にしてください。
Rustのインストール
Ubuntuの場合は、まずCコンパイラ(gcc)をインストールします。
$ sudo apt install gcc
次にターミナルからcurlコマンドを実行してrustをインストールします。プロンプト”>”が表示されたら、「1」を入力します。
$ curl https://sh.rustup.rs -sSf | sh
info: downloading installer

Welcome to Rust!

 < 略 >

1) Proceed with installation (default)
2) Customize installation
3) Cancel installation
>1
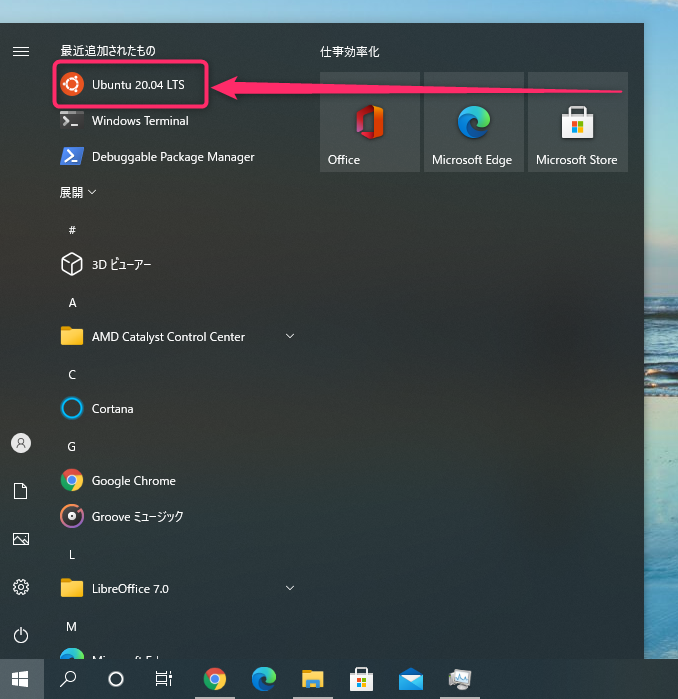
ここで一旦、Ubuntuを終了し、起動しなおします。「exit」と入力し、スタートメニューからUbuntuを起動します。
Ubuntuの再起動が完了したところで、rust関連のコマンドが実行できることを確認します。すでにPATH環境変数の設定も実施されています。
$ rustc -V
rustc 1.51.0 (2fd73fabe 2021-03-23)
$ cargo -V
cargo 1.51.0 (43b129a20 2021-03-16)
Hello Worldを表示してみよう
任意の場所に「rust」フォルダを作成します。
次に、「cargo new プロジェクト名」でプロジェクトを作成します。下ではプロジェクト名を「show_os_ver」としました。
$ mkdir rust
$ cd rust
$ cargo new show_os_ver
     Created binary (application) `show_os_ver` package
プロジェクトのディレクトリ構成をtreeコマンドで表示したのが下の図です。
$ sudo apt install tree
$ tree
.
└── show_os_ver
    ├── Cargo.toml
    └── src
        └── main.rs
show_os_ver/src/main.rsがソースコードです。
$ cd show_os_ver/src
$ cat main.rs
fn main() {
    println!("Hello, world!");
}
すでに、「Hello World」を出力するプログラムがおかれているので、これをビルドして実行します。
cargo runコマンドが便利です。ビルドと実行を一気に行ってくれます。
$ cargo run
   Compiling show_os_ver v0.1.0 (/home/linux/works/rust/show_os_ver)
    Finished dev [unoptimized + debuginfo] target(s) in 0.17s
     Running `/home/linux/works/rust/show_os_ver/target/debug/show_os_ver`
Hello, world!
OSのバージョンを表示してみる
Ubuntuでも、OSのバージョンを表示する簡単なプログラムを作ってみます。
エディタでmain.rsを編集します。
use std::process::Command;

fn main() {
    let proc = Command::new("/usr/bin/cat")
        .args(&["/etc/lsb-release"])
        .output()
        .expect("Failed to start `cat`");

    println!("{}", String::from_utf8_lossy(&proc.stdout));
}
プログラムから”/usr/bin/cat /etc/lsb-release”を実行し、catから受け取った出力結果を表示します。lsb-releaseファイルは、Ubuntuのバージョンが記載されているテキストファイルです。
let proc = Command::new の行でコマンドを実行します。
.args でcatに与える引数を指定します。
.output() でcatの実行完了を待つと同時に出力を受け取ります。
.expect で例外処理を登録します。
println!(“{}”, String::from_utf8_lossy(&proc.stdout)); でcatの実行結果を表示します。
$ cargo run
   Compiling show_os_ver v0.1.0 (/home/linux/works/rust/show_os_ver)
    Finished dev [unoptimized + debuginfo] target(s) in 0.24s
     Running `/home/linux/works/rust/show_os_ver/target/debug/show_os_ver`
DISTRIB_ID=Ubuntu
DISTRIB_RELEASE=20.04
DISTRIB_CODENAME=focal
DISTRIB_DESCRIPTION="Ubuntu 20.04.2 LTS"
OSのバージョンを表示することができました。
macOSでRust!
Rustのインストール
macOSの場合は、Ubuntu同様ターミナルからcurlコマンドを実行してインストールします。プロンプト”>”が表示されたら、「1」を入力します。
% curl https://sh.rustup.rs -sSf | sh
info: downloading installer

Welcome to Rust!

 < 略 >

   default host triple: x86_64-apple-darwin
     default toolchain: stable (default)
               profile: default
  modify PATH variable: yes

1) Proceed with installation (default)
2) Customize installation
3) Cancel installation
>1
sourceコマンドでPATH環境変数の設定を読み込み、rust関連のコマンドが実行できることを確認します。
% source $HOME/.cargo/env
% rustc -V
rustc 1.51.0 (2fd73fabe 2021-03-23)
% cargo -V
cargo 1.51.0 (43b129a20 2021-03-16)
Hello Worldを表示してみよう
任意の場所に「rust」フォルダを作成します。
次に、「cargo new プロジェクト名」でプロジェクトを作成します。下ではプロジェクト名を「show_os_ver」としました。
% mkdir rust
% cd rust
% cargo new show_os_ver
     Created binary (application) `show_os_ver` package
プロジェクトのディレクトリ構成は、Ubuntuの章で説明したものとほぼ同じです。もし、treeコマンドで表示したいのであれば、Homebrewをインストールして、treeコマンドをインストールします。
% /bin/bash -c "$(curl -fsSL https://raw.githubusercontent.com/Homebrew/install/HEAD/install.sh)"
% brew install tree
% tree
.
└── show_os_ver
    ├── Cargo.toml
    └── src
        └── main.rs

2 directories, 2 files
show_os_ver/src/main.rsがソースコードです。
% cd show_os_ver/src
% cat main.rs
fn main() {
    println!("Hello, world!");
}
すでに、「Hello World」を出力するプログラムがおかれているので、これをビルドして実行します。
cargo runコマンドが便利です。ビルドと実行を一気に行ってくれます。
% cargo run
   Compiling show_os_ver v0.1.0 (/Users/apple/works/rust/show_os_ver)
    Finished dev [unoptimized + debuginfo] target(s) in 2.38s
     Running `/Users/apple/works/rust/show_os_ver/target/debug/show_os_ver`
Hello, world!
OSのバージョンを表示してみる
これまでと同様に、OSのバージョンを表示する簡単なプログラムを作ってみます。
エディタでmain.rsを編集します。
use std::process::Command;

fn main() {
    let proc = Command::new("sw_vers")
        .output()
        .expect("Failed to start `sw_vers`");

    println!("{}", String::from_utf8_lossy(&proc.stdout));
}
プログラムから”sw_vers”コマンドを実行し、出力結果を表示します。
let proc = Command::new の行でコマンドを実行します。
.output() でsw_versの実行完了を待つと同時に出力を受け取ります。
.expect で例外処理を登録します。
println!(“{}”, String::from_utf8_lossy(&proc.stdout)); でsw_versの実行結果を表示します
% cargo run
   Compiling hello v0.1.0 (/Users/apple/works/rust/hello)
    Finished dev [unoptimized + debuginfo] target(s) in 6.30s
     Running `/Users/apple/works/rust/hello/target/debug/hello`
ProductName:	macOS
ProductVersion:	11.0.1
BuildVersion:	20B50
OSのバージョンを表示することができました。
さいごに
Windows10, WSLのUbuntu, macOS 11(Big Sur)それぞれにRustをインストールして簡単なプログラムを実行できるようになるまでを紹介しました。この記事をきっかけに、C言語の次世代を期待されているRust使いが一人でも多く輩出されればと思います。